


Countersunk Neodymium Pot Magnets

Less Clutter.
More Useful Space.
Create convenient magnetic holding points for compatible tools, accessories, and DIY projects. A compact cup design and countersunk screw hole make it easy to build an organized setup around your space.
Choose Your Project Pack
Start with 10 mounting points or choose a larger pack for additional projects. Every magnet comes with one matching screw.
10 magnets + 10 screws. A practical starting point for a focused storage or mounting project.
15 magnets + 15 screws. Add more holding points across your workspace and keep a few ready for your next idea.
20 magnets + 20 screws. Get the lowest price per magnet within your selected size for larger projects or future use.
Savings are based on the price per magnet compared with the 10-Pack of the same size, excluding shipping. Exact savings vary by size. Each pack contains one selected magnet size, not a mixed-size assortment.
Compact Design, Practical Holding Power
Add magnetic contact points where they are useful: beside a workbench, inside a cabinet, or as part of a custom organizer. The small footprint gives you flexibility to position individual magnets around your layout.
Choose from three manufacturer-rated maximum pull-force options, and check both the dimensions and your intended setup before ordering.
Find the Right Size for Your Setup
Model: A16
Diameter: 0.63 in (16 mm)
Thickness: 0.20 in (5.2 mm)
Screws included: M3 self-tapping screws
Pack options: 10, 15, or 20 magnets
Model: A25
Diameter: 0.98 in (25 mm)
Thickness: 0.28 in (7 mm)
Screws included: M4 self-tapping screws
Pack options: 10, 15, or 20 magnets
Model: A32
Diameter: 1.26 in (32 mm)
Thickness: 0.28 in (7 mm)
Screws included: M4 self-tapping screws
Pack options: 10, 15, or 20 magnets
A Recessed Screw Head for a Neater Fit
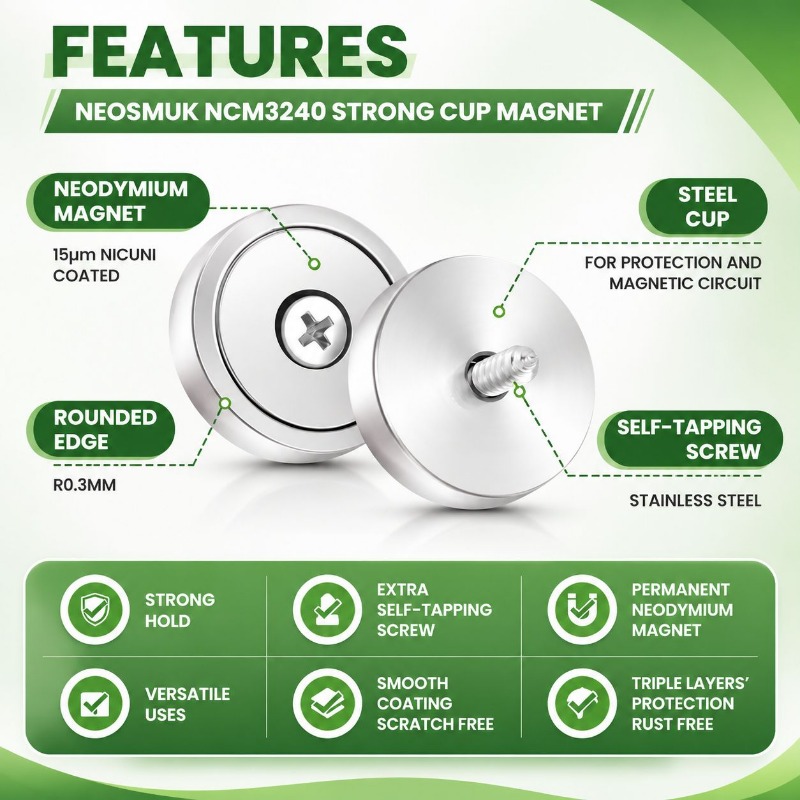
The countersunk center hole accommodates a matching screw head so it can sit neatly within the magnet's face. Secure the magnet through this hole to create a fixed holding point.
The magnet body will still sit above the mounting surface. To make the entire magnet flush with a wooden panel, a separate, correctly sized recess is needed.

Organize Around the Way You Work
- Workshop storage: Create holding points for suitable steel tools and accessories.
- Cabinet projects: Add magnetic contact points where your design and available space allow.
- Custom organizers: Place individual magnets where you need them instead of working around a fixed rail.
Use with compatible iron or steel items. Magnets do not attract wood, plastic, aluminum, or copper, and some stainless steel items are not magnetic. Test the actual item and mounting arrangement before regular use.

Matching Screws, Included in Every Pack
Your selected pack includes an equal number of magnets and screws: 10 + 10, 15 + 15, or 20 + 20. A16 packs include M3 screws; A25 and A32 packs include M4 screws.
- Choose a sound mounting base and check the area before drilling.
- Prepare a pilot hole appropriate for the screw and mounting material.
- Seat the magnet flat and gently tighten the screw until secure. Avoid overtightening.
- Check the attachment and test your intended item before use.
The included screws are not suitable for every wall or surface. Additional surface-specific fixings may be required. Installation tools are not included.

Care & Handling
Keep the magnets dry and separate them carefully. Avoid letting them snap together, which can pinch fingers or damage the magnets. Keep away from children and pets; these are hardware components, not toys. Do not use for overhead lifting or safety-critical support.
Frequently Asked Questions
How many magnets and screws will I receive?
Choose a 10-Pack, 15-Pack, or 20-Pack. Each includes the selected number of magnets plus one matching screw per magnet. All magnets in a pack are the same size. A16 comes with M3 screws; A25 and A32 come with M4 screws.
Can I hang the stated maximum weight on a vertical wall?
No. The stated figures are manufacturer-rated maximum pull forces per magnet, not vertical hanging capacities. An item may slide at a much lower load. Contact conditions and installation affect the actual hold, so test your setup rather than treating the pull rating as a safe hanging weight.
Can I install them on drywall and remove them later?
Do not rely on bare drywall alone. Use a sound mounting base and fixings suitable for your surface. To remove a magnet, first remove the attached item, then undo the center screw. The installation will leave screw holes; removal is not damage-free.